
Do you ever wonder what happens at home when you’re away? Picture this: you’re on vacation, and you wish you could check in on your house to make sure everything is secure. That’s where HomeKit Secure Video comes in.
Imagine being able to view your home’s security footage with just a few taps on your phone. In this article, you’ll discover how easy it is to access and watch your HomeKit secure video recordings anytime, anywhere.
By learning how to view these recordings, you’ll have peace of mind knowing that you can always keep an eye on what matters most to you. Let’s dive in and unlock the power of HomeKit Secure Video together.
Key Takeaways
- HomeKit Secure Video allows you to remotely view your home’s security footage using HomeKit-enabled cameras and a Home Hub.
- Ensure you have an iCloud storage plan to securely store your video recordings for easy access and peace of mind.
- Accessing your video recordings is simple through the Home app on your iOS device, where you can view, manage storage, and customize notifications.
- To manage your HomeKit Secure Video recordings effectively, learn to access recorded clips, delete old recordings, customize notifications, and monitor storage usage.
- Explore automation options and troubleshoot common issues like camera status, Home Hub configuration, iCloud storage, network connectivity, and Home app settings for a seamless experience.
Understanding HomeKit Secure Video Recordings
When it comes to HomeKit Secure Video Recordings, understanding how they work can enhance your overall home security experience. These recordings provide you with the capability to remotely view your home’s security footage using your phone, offering you peace of mind and control over your home’s safety. Let’s delve into the specifics to help you navigate this feature effectively.
Key Components of HomeKit Secure Video Recordings
HomeKit Enabled Cameras: To view your secure video recordings, you’ll need cameras that are HomeKit enabled. These cameras are designed to work seamlessly with Apple’s Home app, allowing you to access your footage easily.
Home Hub: Your Home Hub, which could be an Apple TV, HomePod, or an iPad, serves as the central point for securely storing and accessing your video recordings. It ensures that your footage is encrypted and accessible only to you.
iCloud Storage: To store your video recordings securely, you’ll need an iCloud storage plan. These plans offer different storage capacities, ensuring you have enough space to keep your footage for a specific duration.
Accessing Your Video Recordings
- Open the Home App: Launch the Home app on your iPhone or iPad.
- Tap on the Camera: Select the camera that you want to view the recordings for.
- View Recordings: You can easily view your recordings under the designated section for historical footage.
- Storage Management: Keep track of your storage usage to ensure you have sufficient space for your recordings. You can adjust your storage settings in the Home app.
- Customizing Notifications: Tailor your notification preferences to stay informed about any activity detected by your cameras. This personalized approach enhances your surveillance experience.
By comprehending the fundamental aspects of HomeKit Secure Video Recordings and following the simple steps outlined above, you can effortlessly access, manage, and optimize your home security system. Embrace the convenience and control these recordings offer to enhance your peace of mind, whether you’re at home or away.
Accessing HomeKit Secure Video Recordings
When you want to access your HomeKit Secure Video recordings, here’s what you need to do. First, ensure you have a compatible HomeKit enabled camera set up in your home. This camera is the key to recording footage that you can later view.
Next, make sure you have a Home Hub in place. The Home Hub, such as an Apple TV, HomePod, or iPad, acts as the secure storage center for your video recordings. It ensures that your footage is stored safely and can be accessed when needed.
To access your video recordings, open the Home app on your iOS device. The app provides a convenient interface for managing your HomeKit devices, including your cameras and their recordings. Navigate to the camera you want to view the recordings from.
Once you select the camera, you’ll be able to see the recorded clips and footage. Simply tap on the recording you wish to view, and it will start playing on your device. This easy access allows you to check in on your home’s security whenever you need to, giving you peace of mind whether you’re at home or away.
By following these simple steps, you can effortlessly view your HomeKit Secure Video recordings and stay informed about the security of your home at all times.
Recommended Products

Works with HomeKit Secure Video and All Major Ecosystems: Fully compatible with Apple HomeKit Secure Video (HSV) for encrypted recording, iCloud storage, and relevant notifications directly on Apple devices. Also compatible with Matter, Alexa, Google Assistant, SmartThings, and Home Assistant, integrating into your existing smart home setup.
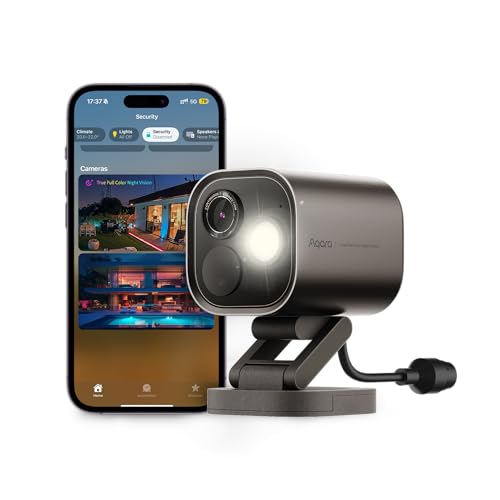
4MP HD & True Color Night Vision- The security Camera Hub G5 Pro offers a 4MP Resolution with a 133° FOV and supports True Color Night Vision with a 1/1.8" sensor and f/1.0 large aperture, identifying intruders even in low-light. A Built-in 3000K DIMMABLE Spotlight functions as an intruder deterrent and improves visibility during nighttime. Note: This surveillance camera is not equipped with infrared light. No Battery.
Managing HomeKit Secure Video Recordings
Recommended Products

Super-Crisp 2K Resolution & 360° Viewing and Night Vision: (Note: A 5V 2A USB-A power supply is required and is not included.) Experience crystal-clear surveillance with a high-resolution 2304 × 1296 pixel sensor and a wide-angle f/2.0 lens. The Pan/Tilt motor allows for a full 360° viewing angle which enhances the person tracking feature. The E1 also includes a 940 nm infrared backlight designed not to disrupt your sleep during nighttime use. (The Camera E1 uses an industry-standard USB-C port.
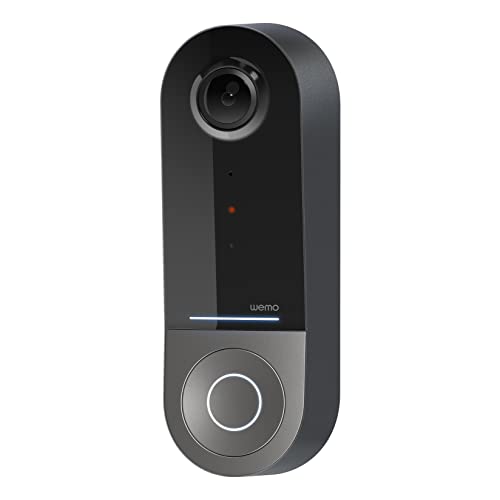
COMPATIBLE WITH HOMEKIT SECURE VIDEO: With Apple HomeKit this smart video doorbell camera can send notifications to your Apple iPhone, helping you see who is at your door with face recognition. NOTE: Only compatible with a wired 16-24V AC doorbell system

【HomeKit Secure Video Doorbell & Local Face Recognition】Connect your Aqara Video Doorbell G4 to Apple HomeKit Secure Video to keep your data safe. *To record and playback using HomeKit Secure Video, a subscription to iCloud is required. Notifications can be sent to your Apple devices. The G4 is a unique video doorbell camera which features local AI that can be used for face recognition alerts, automations and much more. HomeKit, Alexa, Google Assistant, IFTTT are supported.
Accessing Recorded Clips
- Open the Home app on your iOS device.
- Select the camera you want to view recordings from.
- Browse through the recorded clips to review past events or activities captured by the camera.
Deleting Old Recordings
- To free up storage space or maintain privacy, delete old recordings periodically.
- Select the recording you wish to remove.
- Look for the delete option and confirm the action to delete the selected recording.
Customizing Notifications
- Tailor your notification settings to receive alerts for specific events.
- Access the camera settings within the Home app.
- Customize notification preferences such as motion detection alerts or specific activity notifications.
Managing Storage Usage
- Monitor your iCloud storage to ensure you have sufficient space for storing video recordings.
- Consider upgrading your iCloud storage plan if needed to accommodate more recordings.
- Regularly check your storage usage to avoid running out of space for new recordings.
- Create automation routines to control your HomeKit enabled cameras.
- Utilize features like geofencing to trigger recordings based on your location.
- Explore automation possibilities to enhance the functionality and efficiency of your home security system.
Troubleshooting HomeKit Secure Video Recording Issues
When dealing with HomeKit Secure Video recording problems, there are some common issues you might encounter. Here are a few troubleshooting steps to help you resolve them:
Recommended Products
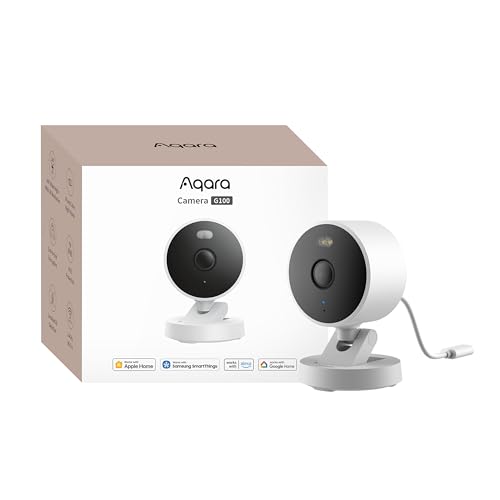
2K Clarity Day and Night: The G100 Wi-Fi Camera films in 2304×1296 (3MP) resolution with a 140°FOV and a wide-angle f/1.8 lens for superior image quality. It features two night vision modes: Spotlight Color Night Vision and IR Detection Mode. The spotlight provides illumination in dark, great for color recording outdoors at night. The G100 also includes 940 nm infrared lighting, ensuring covert illumination without alerting potential intruders. (Note: Both Spotlight and IR night vision modes must be manually enabled in the app and do not turn on automatically.)

2K Clarity Day and Night: The G100 Wi-Fi Camera films in 2304×1296 (3MP) resolution with a 140°FOV and a wide-angle f/1.8 lens for superior image quality. It features two night vision modes: Spotlight Color Night Vision and IR Detection Mode. The spotlight provides illumination in dark, great for color recording outdoors at night. The G100 also includes 940 nm infrared lighting, ensuring covert illumination without alerting potential intruders.
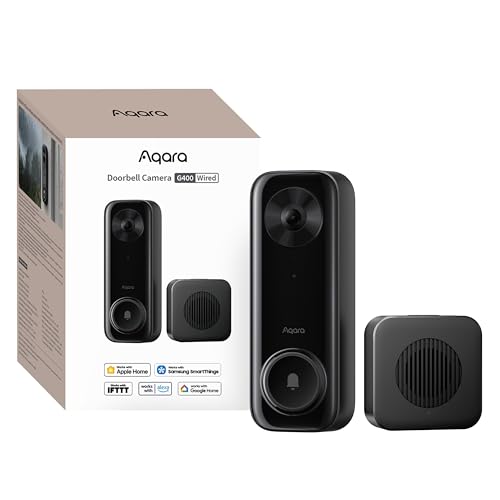
Works with HomeKit Secure Video and All Major Ecosystems: Fully compatible with Apple HomeKit Secure Video (HSV) for encrypted recording, iCloud storage, and real-time notifications directly on Apple devices. Also compatible with Alexa, Google Assistant, and SmartThings. Pro-level compatibility provides more options via RTSP/ONVIF support, NVR integration, and other advanced setups. *Note: To use this device with HomeKit Secure Video, an iCloud+ plan and an Apple home hub are required.
Checking Camera Status:
- Ensure that your HomeKit enabled camera is properly set up and connected to your Home app.
- Verify that the camera has power, a stable internet connection, and is within range of your Home Hub for seamless operation.
Home Hub Configuration:
- Check the status of your Home Hub to confirm it’s actively storing your video recordings.
- Make sure your Home Hub, which can be an iPad, HomePod, or Apple TV, is online and functioning correctly.
iCloud Storage Verification:
- Ensure that your iCloud storage plan has enough space to accommodate your video recordings.
- If your iCloud storage is full, consider upgrading to a higher plan to continue storing your HomeKit Secure Video recordings.
Network Connectivity:
- Check your Wi-Fi network to ensure it’s stable and strong enough to support video streaming and recording.
- If you’re facing connectivity issues, try restarting your router or repositioning it to improve signal strength.
Home App Settings:
- Review your Home app settings and permissions to ensure that video recordings are enabled and notifications are properly configured.
- Customize your notification preferences to receive alerts for significant events captured by your HomeKit enabled cameras.
- Regularly check for firmware updates for your HomeKit enabled cameras to ensure they are running the latest software version.
- Updating the camera firmware can often resolve compatibility issues and improve overall performance.
By following these troubleshooting tips, you can effectively address common HomeKit Secure Video recording issues and enjoy a seamless home security monitoring experience.
Conclusion
You’ve learned about the convenience of HomeKit Secure Video for remote home security monitoring and how to troubleshoot recording issues effectively. By following the steps outlined in this article, you can ensure a seamless experience with your HomeKit cameras. Remember to check camera status, verify your Home Hub configuration, ensure ample iCloud storage, maintain network connectivity, review your Home app settings, and keep your camera firmware updated. With these tips, you’ll be able to address common recording problems and maximize the security of your home. Happy monitoring!
Frequently Asked Questions
How do I set up a camera with HomeKit Secure Video?
To set up a camera with HomeKit Secure Video, first, make sure your camera is compatible with HomeKit Secure Video. Then, follow the manufacturer’s instructions to add the camera to your Home app. Once added, configure the camera settings within the Home app to start using it with HomeKit Secure Video.
What is a Home Hub in relation to HomeKit Secure Video?
A Home Hub is a device like an iPad, Apple TV, or HomePod that serves as a central hub for controlling your HomeKit accessories and enabling features like HomeKit Secure Video. Make sure your Home Hub is set up and connected to the same Wi-Fi network as your cameras to enable secure video recording and storage.
How can I troubleshoot HomeKit Secure Video recording issues?
To troubleshoot HomeKit Secure Video recording issues, check the camera’s status in the Home app, verify your Home Hub’s configuration, ensure you have sufficient iCloud storage for recordings, maintain a stable network connection, review and adjust your Home app settings, and update your camera’s firmware to the latest version. These steps can help resolve common recording problems.
How can I enhance my home security monitoring experience with HomeKit Secure Video?
To enhance your home security monitoring experience with HomeKit Secure Video, consider investing in high-quality cameras that are compatible with HomeKit Secure Video, set up multiple cameras in key areas of your home, regularly review and adjust your camera and Home app settings, ensure your internet connection is stable and secure, and stay updated on software/firmware updates for your cameras and Home Hub. By following these tips, you can improve your home security monitoring capabilities.
